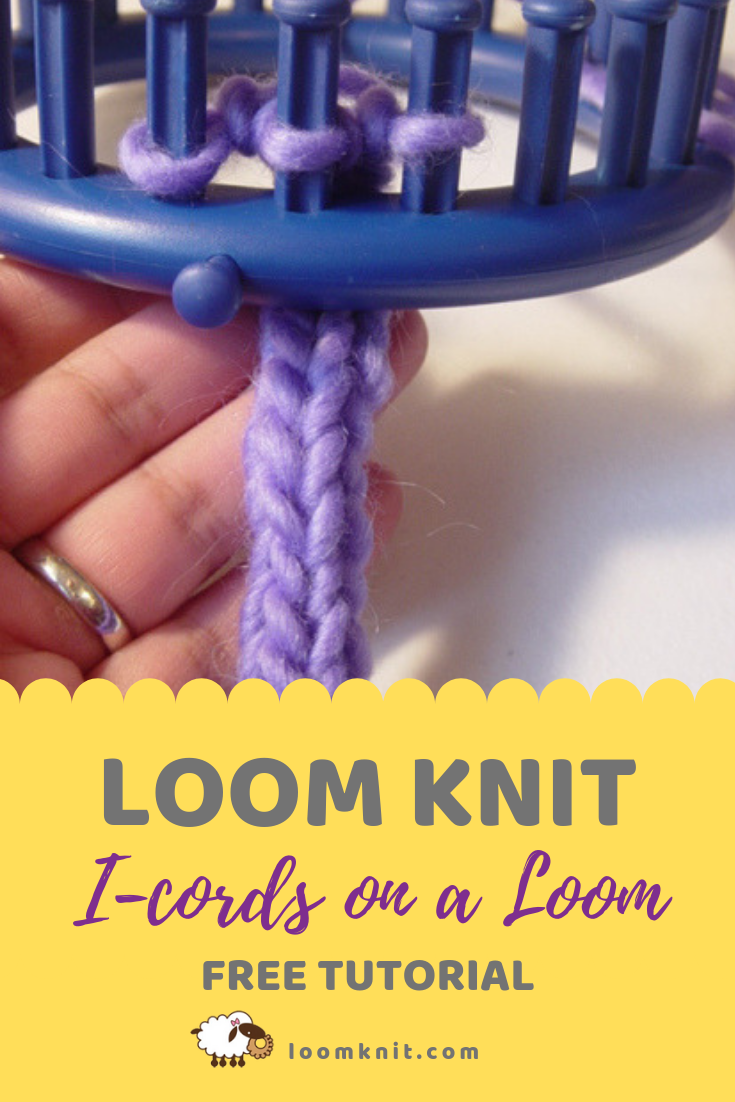
The following instructions came from one of my early tutorial files that were located in my original blog. You can find the file at this link.

I-cords are a great way to embellish your knitted items. I-cords can be used around necklines, hems, and around any flat item to add a little touch. My favorite use of I-cords are for bag handles as they are very sturdy and once felted make a very strong handle.
In this instruction pamphlet, you will learn how to make a 3-stitch I-cord on a knitting loom.
I would like to express my gratitude to Lori Lemieux for showing us how to make the I-cord on a knitting loom.
I-cords are very easy to do. All you need is a loom with 3 pegs for a 3 stitch I-cord, or 4 pegs for a 4-stitch I-cord.
3 stitch I-cord
Materials:
- Knitting loom with at least 3 pegs
- Knitting Tool
- Yarn
Notes:
- I-cord is knitted with the Flat Stitch
- Knit refers to the flat stitch
- Work the loom in a clockwise direction (right to left)
Set up row: Cast on 3 pegs.

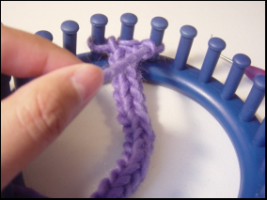
Step 1: With working yarn coming from the third peg (figure 2), run the yarn behind the pegs to the 1st peg (figure 3).


Step 2: Bring yarn to the front of the loom (figure 4), and knit the 3 pegs. Knit the 2nd peg first, then the 1st, last the 3rd. Tip: Pull on the cord every couple of rows to set the stitches.

Repeat steps 1 & 2 until the cord measures the desired length.
Bind off:
Cut yarn leaving a 4 inch tail
Step 1: Move the loop from peg 2 to peg 1. Knit over.
Step 2: Move the loop on peg 1 to peg 2.
Step 3: Move the loop on peg 3 to peg 2. Knit over.
Step 4: With working yarn, e-wrap peg 2. Knit over.
Step 5: Pull the last loop off the peg and pull on the yarn tail end.
Final Step: Hide the yarn tail end by using a tapestry needle.

