Garter Stitch:
Created by working one knit row, followed by one purl row. The ridge created by these two rows is known as a Garter Stitch Ridge.
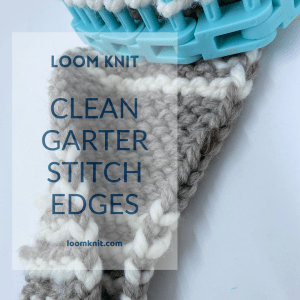
The sample shown was worked completely in garter stitch.
To create the clean edges on the right and left side of the work, I always slip (skip) the first peg (with yarn behind the peg), and take my working yarn to the front of peg 2, ready to begin working the row.
On the purl rows (for the sample, it is every even row), I purl until the peg before last, then I always knit the last peg.
The sample shows garter stitch ridges of alternating colors. I switched colors each time I ended a garter stitch ridge (after completing one knit row and one purl row). I carried the unused color up on the side (always on the right-hand side of the fabric).
By the way–the video also shows how to switch yarn colors so your garter stitch rows are perfect and the contrasting color doesn’t show on your right-side of the fabric. In case you were wondering–switch colors after you have completed an entire garter stitch ridge repetition (both a knit row, and a purl row), switch color on the next repetition.
Disclaimer: there are probably other methods of achieving clean garter stitch edges, this method works for me, and thus I am sharing it.
